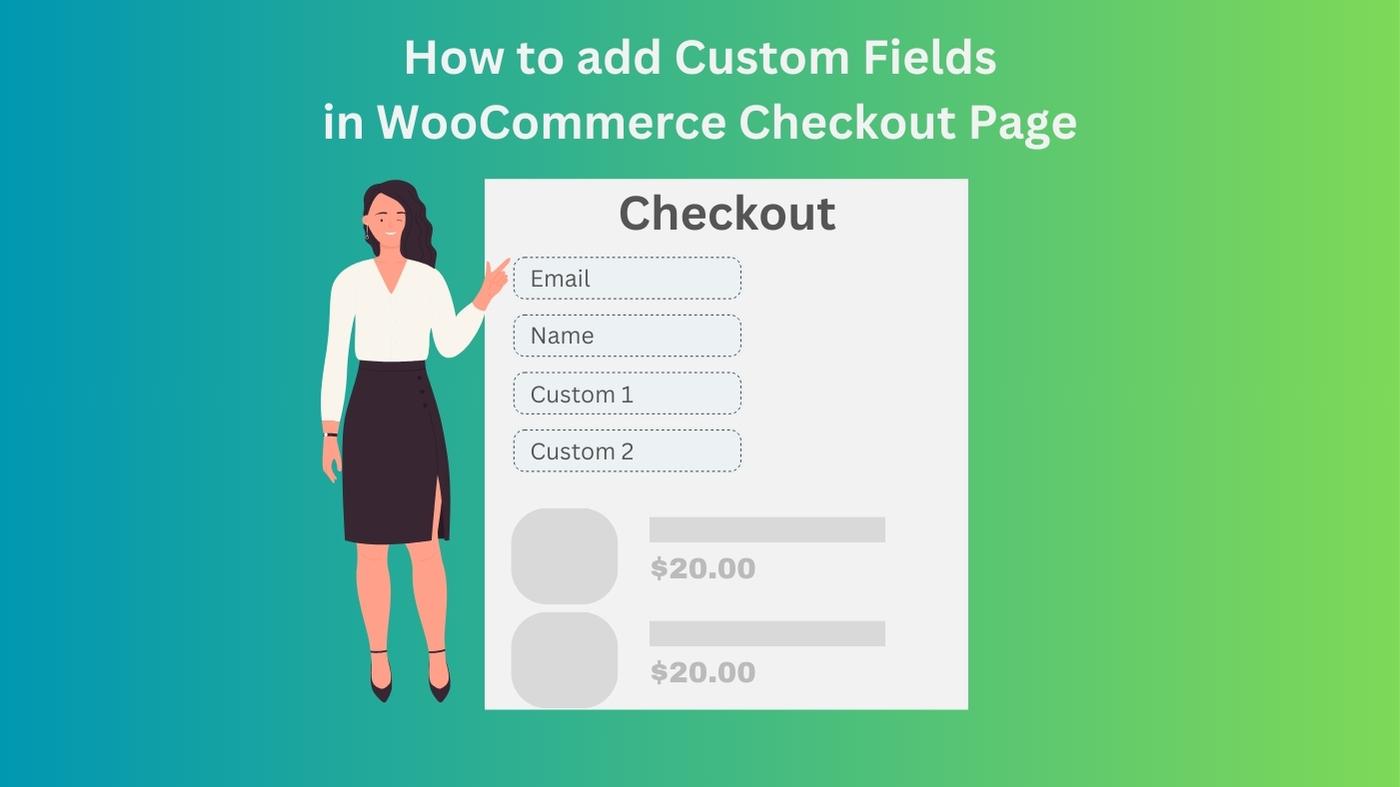
To add custom checkout fields in WooCommerce, you can use hooks and filters to modify the checkout page. Here’s a step-by-step guide on how to do this:
1. Create a Custom Plugin (Recommended)
It’s a good practice to make customizations like this in a plugin to ensure that your changes are preserved even when you update your theme. Here’s how you can create a custom plugin:
- Create a new folder in your “wp-content/plugins” directory. Name it something like “custom-woocommerce-checkout-fields”.
- Inside the new folder, create a PHP file (e.g., custom-woocommerce-checkout-fields.php).
- Open the PHP file in a text editor and add the following code:
<?php
//Plugin Name: Custom WooCommerce Checkout Fields
//Description: Add custom checkout fields to WooCommerce.

// Add custom checkout fields
function haimi_custom_add_checkout_fields($fields) {
    $fields['extra_field'] = array(
        'label'       => __('Custom Field', 'woocommerce'),
        'placeholder' => _x('Enter something', 'placeholder', 'woocommerce'),
        'required'    => true,
        'class'       => array('form-row-wide'),
        'clear'       => true,
    );

    return $fields;
}
add_filter('woocommerce_checkout_fields', 'haimi_custom_add_checkout_fields');

// Display custom checkout fields in the checkout form
function haimi_custom_display_checkout_fields($checkout) {
    echo '';
    woocommerce_form_field('extra_field', array(
        'type'        => 'text',
        'class'       => array('my-field-class form-row-wide'),
        'label'       => __('Custom Field', 'woocommerce'),
        'placeholder' => _x('Enter something', 'placeholder', 'woocommerce'),
    ), $checkout->get_value('extra_field'));
    echo '';
}
add_action('woocommerce_after_order_notes', 'haimi_custom_display_checkout_fields');
?>
- Save the file.
- Activate the plugin from the WordPress admin dashboard under “Plugins“.
2. Add the Custom Checkout Field to Functions.php
If you prefer adding the code directly to your theme’s “functions.php”, follow these steps:
- Go to “Appearance” > “Theme Editor”.
- Open your theme’s “functions.php” file.
- Add the code snippet provided above.
- Save the file.
3. Customize the Code
You can customize the code to add different types of fields (text, select, radio, checkbox, etc.), change labels, placeholders, and more according to your requirements.
Remember to test thoroughly on a staging or development site before implementing these changes on a live site. Also, be aware that this example covers a basic implementation. If you need more advanced customization or validation, you might need to adjust the code accordingly.


